If you're anything like me, sometimes you buy really cheap nail polish. And if you're even more like me you're disappointed when colors don't turn out the color they look in the bottle. I came up with this idea to solve that very problem. I don't have a good name for this technique, but it's super easy and gives the nail an almost dimensional look. I am in the market for a better name for it than dimension-ified but it will do for now.
For reference- This is the polish I bought with a little swatch of what it looks like on white. (Disappointing right? Way lighter and more pink when I was really going for a deep red.) As you can tell from the comparison of the straight polish and my technique--mine is way better. And to be honest it looks more like the polish in the bottle.


So how did I do it?
Well I am glad you asked. It was really easy but SUPER messy. Plan to make a mess.
These are the colors you will need to make the candy apple red as seen above.
In theory you can use any combination of colors so long as the dark one goes underneath to give it the dimension.

Step 1
Paint the Entire nail with the dark color. It's really important to get the whole thing, corners and all or else you will see gaps in the edges. Don't worry about cleaning up the edges because it will get worse anyway.

Step 2
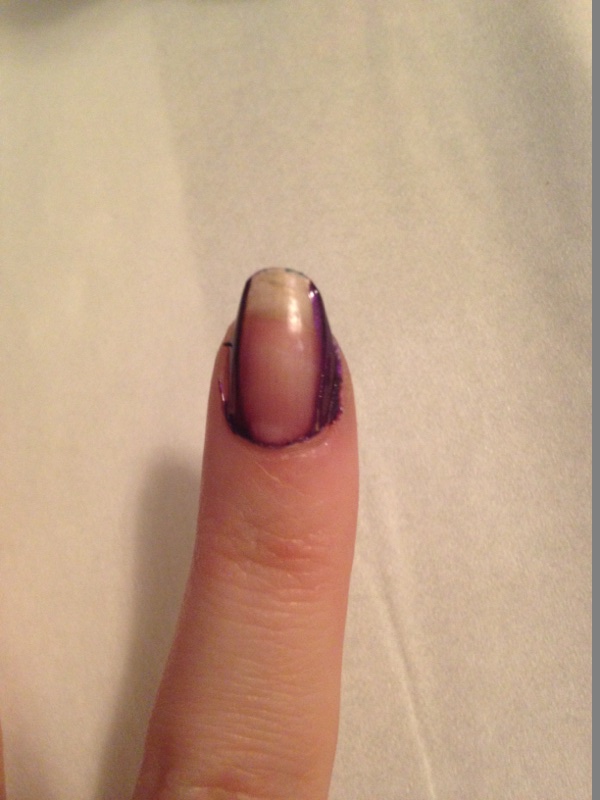
Using a paper towel wipe off the top of the nail only. This step is a little tricky and leaves a lot of room for variation. It helps to let the polish dry just a little so it leaves some purple on the top and the edges blend a little better. But if you want it to look sharp you can do that too. Leaving it light in the middle is the key to making the color pop.
 |
| Told you I make a huge mess |
Step 3
Cover the nail with your cheap color. I find that 2 coats is better for this shade because its so thin you can see through it too much with just one. See?
 |
| One coat |
 |
| Two coats |

Step 4
Use your favorite top coat to seal the look and clean up the edges. I of course didn't do a great job cleaning up in this one but it gives you an idea of how this is supposed to come out. And if you have a better name for it I am all ears!!


No comments:
Post a Comment