


This character is a little obscure but I think I nailed it. I wish I had more in progress pictures because it came out really well, but alas, I did it before I knew I would be making a blog chronicling my stuffs.
Brief Description
This costume is pretty much all 1 piece except for the extra sleeve thingys. There are a lot of intricate details here but it is almost entirely made of different fabrics as opposed to any other materials. This makes it very sewing intensive using the machine and by hand. I made up the pattern as I went and I am not sure I can describe it without actual pictures but here it goes:
 I started with the main body of the dress that everything else is attached to. The bodice and the skirt are separate pieces machine sewed together. The sleeves are also attached to the upper part of the bodice, but the seams are hidden under the little fringe piece on the top edge of the bodice. I have to say the coolest part of this dress is how I did the Zipper. Since I wanted it one piece I had to get really creative on where to put a zipper at all. I made a hidden enclosed zipper** that I had never tried before. I assume I am not the person who invented the idea, but I hadn't actually seen one before so I figured out the whole thing on my own. (go me!). If you are making this on your own just leave the side open for now with at least an inch of extra fabric on each edge so the zipper can be attached later. I chose to leave it till later because I thought it would be easier to attach everything, including the wrap pieces all at once.
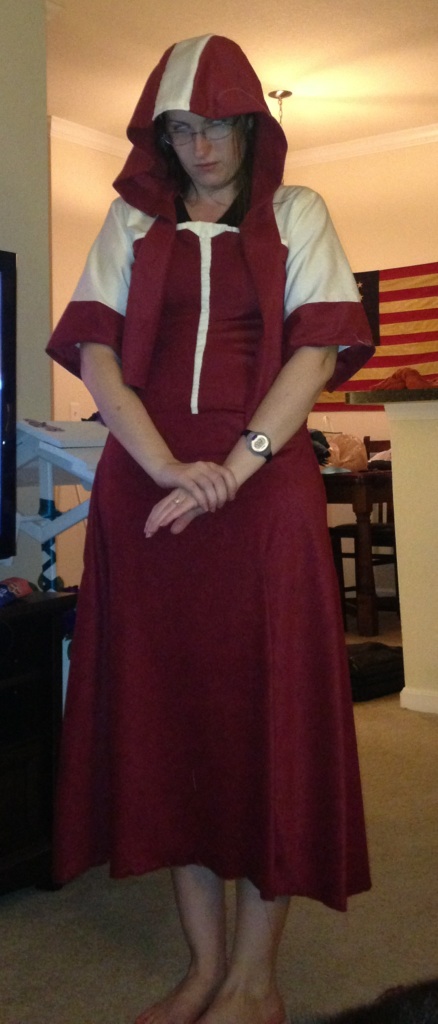
 The hood is attached directly to the shoulder part of the sleeves as you can see to the right. It is not even close to complete here but you can get the gist of the shape from the image. When finishing the edge that went over my face I ended up folding it over and putting a wire in it to hold it up. I also put in another layer of red underneath to hide the edge and made sure it had the fuzzy suede look even when I took the hood down.
 For the skirt details I made a fake seam in the front and attached fake leather strips over it to imitate the look of the fat stitches. I used this technique anywhere the goal picture had an obvious looking stitch. Also on the very bottom I added a strip of white fringe, but when attaching it, I didn't finish the bottom edge (just sewed it under neath the edge). I did that so it would look kinda ragged as it is supposed to.
I wish I had some pictures of how I made the wrapped part but I only have finished pics. The wrap is made on top of a red base piece that the white loops are attached to. There are several detail things here too including inside out strips of red, more suede bits and these little goldish things that when hanging looked just like the coin looking bits in the original. Off to the right side there is a frayed 'panel' that you can see better in the zipper picture below. It has 3 layers, ragged red, frayed white and fringed red, which are all attached directly to the wrap part.
 **As
you can see, the zipper starts about an inch below the top of the
bodice and ends hidden in the white wrap piece. The most important
thing is that it is sealed in on the top and bottom. The edges are
pinched up so that the zipper itself is hidden in the folds and the wrap
pieces line up on both sides so it really is well hidden when it's
being worn.
**As
you can see, the zipper starts about an inch below the top of the
bodice and ends hidden in the white wrap piece. The most important
thing is that it is sealed in on the top and bottom. The edges are
pinched up so that the zipper itself is hidden in the folds and the wrap
pieces line up on both sides so it really is well hidden when it's
being worn.  | |
| What?! Color contacts are $40?? I'll just roll my eyes back into my head |
The jewelry is either made with craft foam detailed with hot glue and pained bronze or polymer clay like the earring and pendant.
The other hood details are either suede or white fabric to match the original design and the ends were cut to a fringe.
For the arm things, I used the same red fabric but the trick here was the gold banded things. I used craft foam covered with white fabric and painted gold for the ones that stick out at odd angles. To make them tight on my arms I put a tiny snap at the wrist end and reinforced the seam with hot glue to make it stiff. This worked great to hold it straight while still leaving it comfortable and flexible.
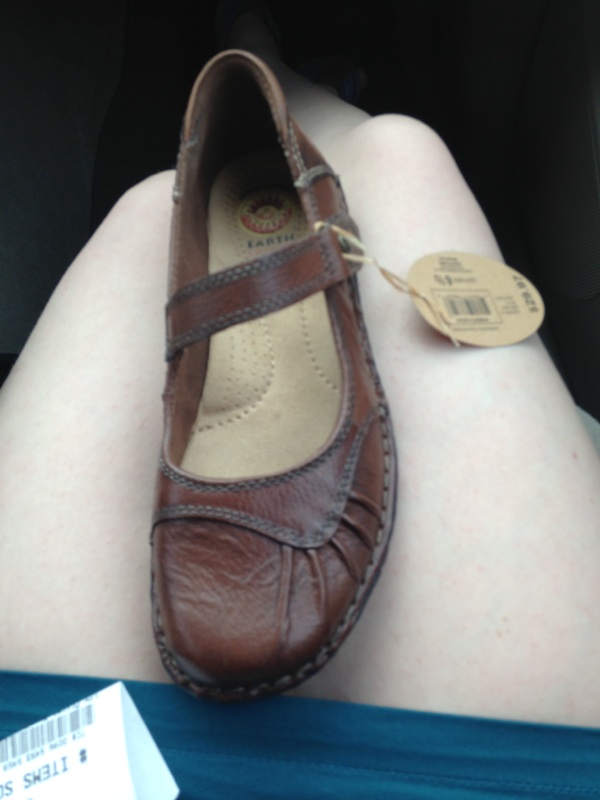 Let me take a moment to talk about the shoes. I happened to find these at walmart for $12 and they fit this costume perfectly. I did not need to make any adjustments because they were too good as is.
So there you have it, the short version of the components of the Theresa costume. If there are any other questions leave them in the comment box and I will be sure to elaborate.
No comments:
Post a Comment