

Project: Hogwarts Robes
Approximate time: 3-4 days depending on patience and skill level
Skill level: Intermediate to Advanced
Netflix Binge: Last Man Standing
Materials:
Sewing machine and a Serger (I used both my sewing machine and my brand new serger for this project. It can be done with just a sewing machine if you change up the seams a little- by hand this project would take forever but it can be done)
Approximately 3-4 yards of Black "Suitings" fabric (Actual amount will vary by size)
Approximately 2-3 yards of the House Color fabric of your choice (I have blue for myself and red for my husband)
3 Spools of black Serger thread - not that you need all 3 but I used the 3 thread hem stitch.
2 Black buttons and half of an elastic hair band
House patch of the house of your choice- for us it was a Ravenclaw and a Gryffindor
Step 1
I really like making my own patterns, so my first step was research by looking at and drawing mock ups. I had the advantage of seeing the real things in person but I did make a few changes. These are what I ended up with. The second one has my actual inch measurements used on myself.

I cut mini pattern pieces out of paper to see how they fit together and make sure my proportions work. I highly recommend doing that yourself because it really helps visualization without wasting materials.
Step 2
Once you know how its supposed to look and the sizes you need it's time to start cutting pieces.
**Note please ignore the hood pattern. I changed it at the last minute because the original design was too short. The pointy end stuck out straight when I put the hood one which looked silly. I made it much much longer and it looked waaay better.
I used the cut black pieces as the template for the colored pieces which line only the hood, the sleeves and the front panels.
Step 3
Start attaching things. The first thing I did was hem the reverse sides of all the edges that were showing (the front, the bottoms of the sleeves and the hood), from there I could flip them right side out, iron the crease and have that seam completely hidden inside. Once those were in place the rest was laying out how the sides should be and making sure the sizing was right. I gave mine a little bit of a waistline because I kinda like my figure and if I am going to have something custom made may as well make it fit well right?
The trick here is to leave the bottom open. You will need access in there for the next step which is pockets.
Step 4
When sewing up the sides (I used the serger for that) I left a hand sized section open on either side about hand height. I did a double pocket which I thought came out really cool. So the idea is that there is both a slit that you can reach all the way through to reach the clothing underneath (aka pants pockets), AND real pockets that are hidden in between the black and colored layers. The other super important pocket is the wand pocket. That one was a little tricky so I will include more detailed pictures but the goal is a long skinny pocket hidden between the layers with a little lip on the outside to cover the hole.


Inside final Outside final
Step 5
Once you officially sew the sides together its time to attach the sleeves. I used the serger around the edges of the inside to secure the seam. I went around a couple of times to make sure it was extra strong (the first time the knife was on but the rest it was down or else it would have been counter productive.) I am not sure if I mentioned it yet or not but the sleeve should line up pretty close to the hole size. If not adjust by pinching in the fabric at the seam under the armpit. I should have been more specific in step 3 but when you are sewing the reverse layers on the sleeves you should also be sewing the sleeves so that the seams point inside the 2 layers.Step 6
Attaching the hood. This was a ridiculous trial and error for me. I ended up doing it mostly by hand because I couldn't line it up to save my life. I tried to make the seams as hidden as possible and all the edges were folded under to prevent fraying. Luckily it was not the focus of the costume so it was ok that it was kinda silly. The important thing is I can wear the hood if I want and it looks good down too. Once it is on sew on the buttons and elastic to hold it together in the front. **Protip- attach the ends of the elastic under the second button. That one is only there for looks anyway since it's the other one that gets looped and is functional.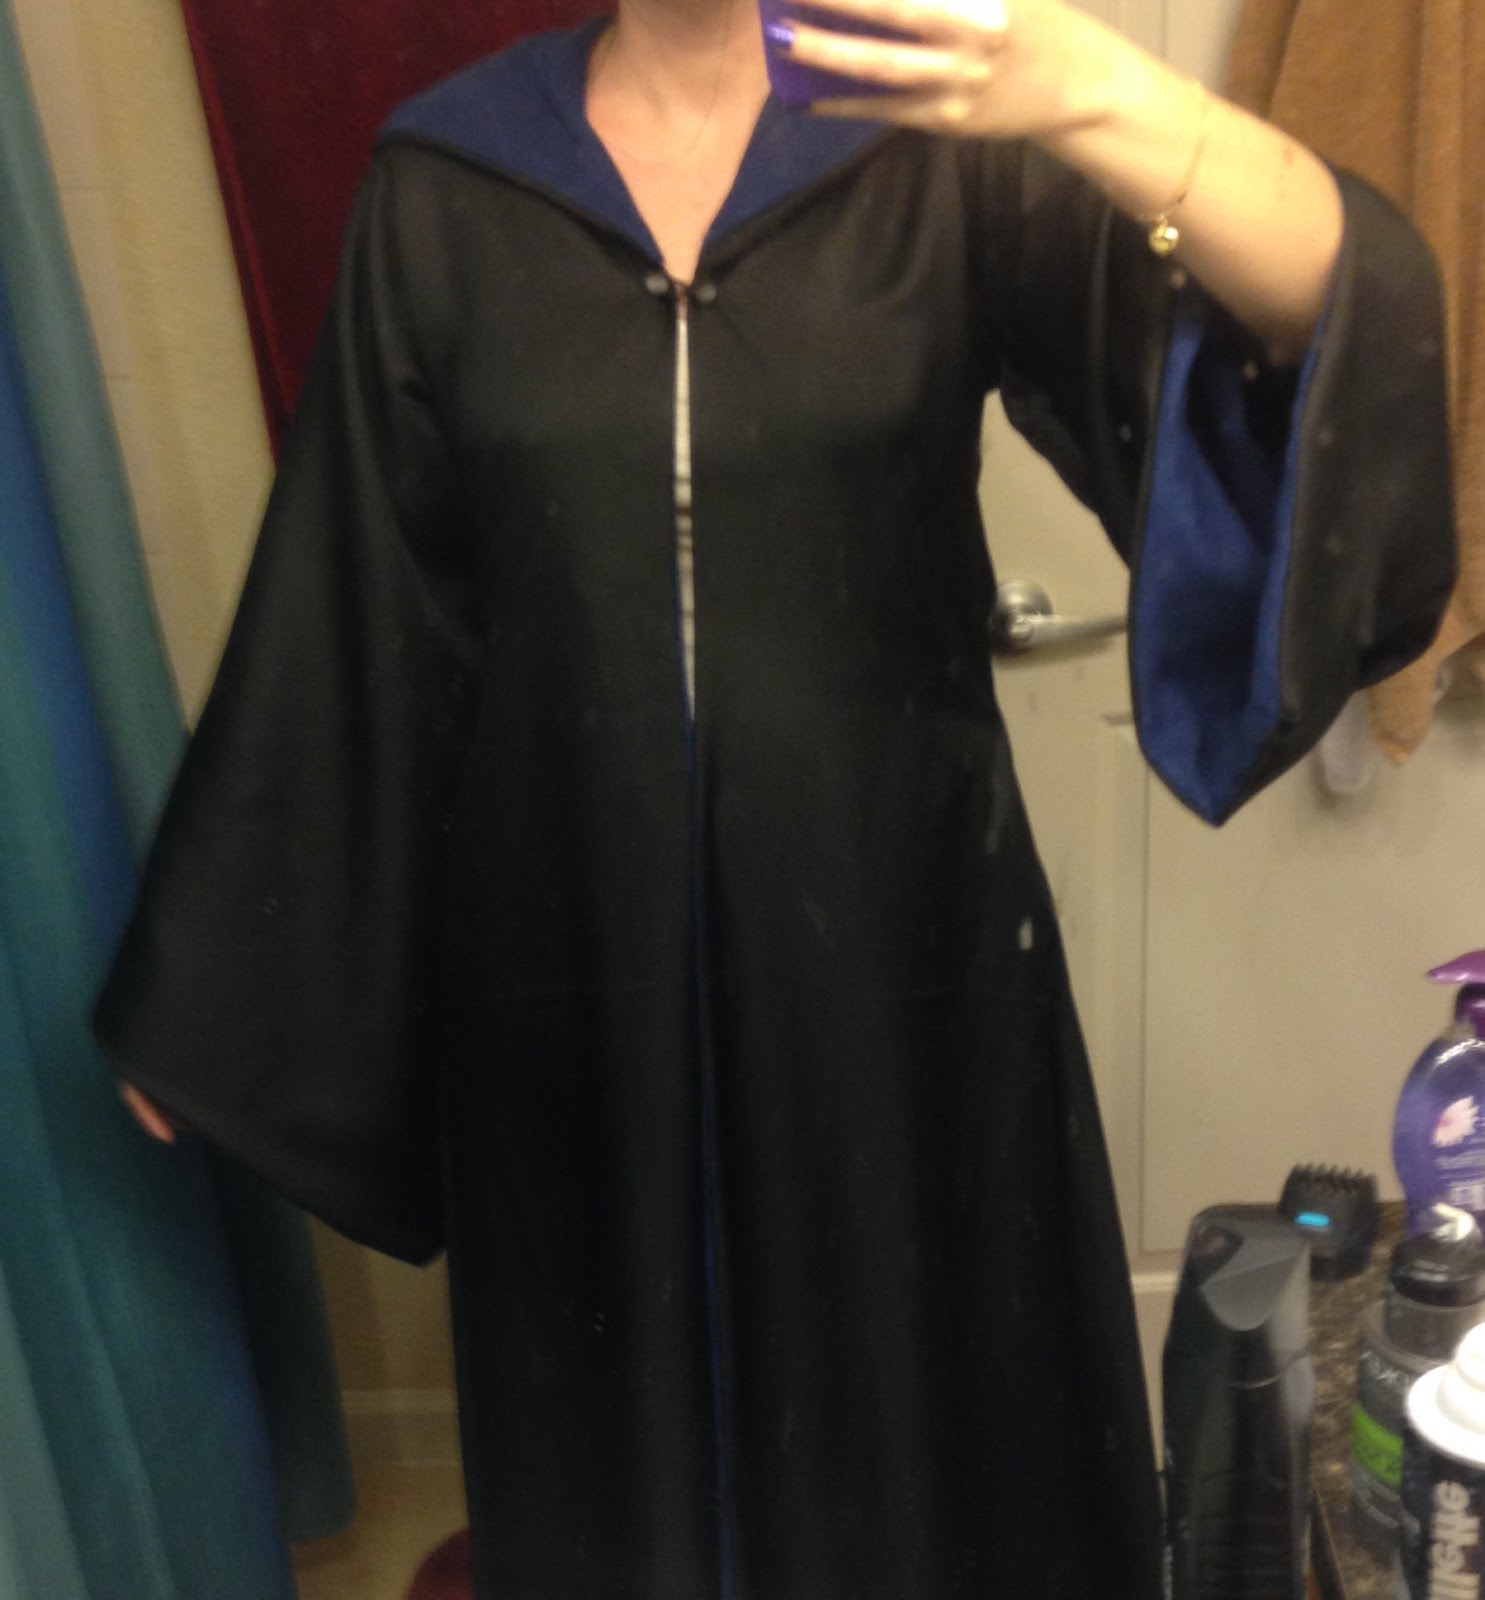

Step 7
Hand sew on the House patch to match the house color you picked. I just sewed around the edges and it worked out perfectly. Since the bottom was still open I could sew just thru the black layer leaving the colored one intact with no unsightly threads.
Step 8
Hem up the bottom so that everything lines up and hangs evenly. I folded the front parts in on themselves to hide the edges and double folded the back to prevent fraying.Tada!!! That's it! If you need any further instruction let me know!!
No comments:
Post a Comment